
I’ve mentioned the Lomography Digitalizer 35mm Film Scanning Mask (Lomography Digitalizer) in a few of my blogs but I thought I’d focus specifically on it for this one.
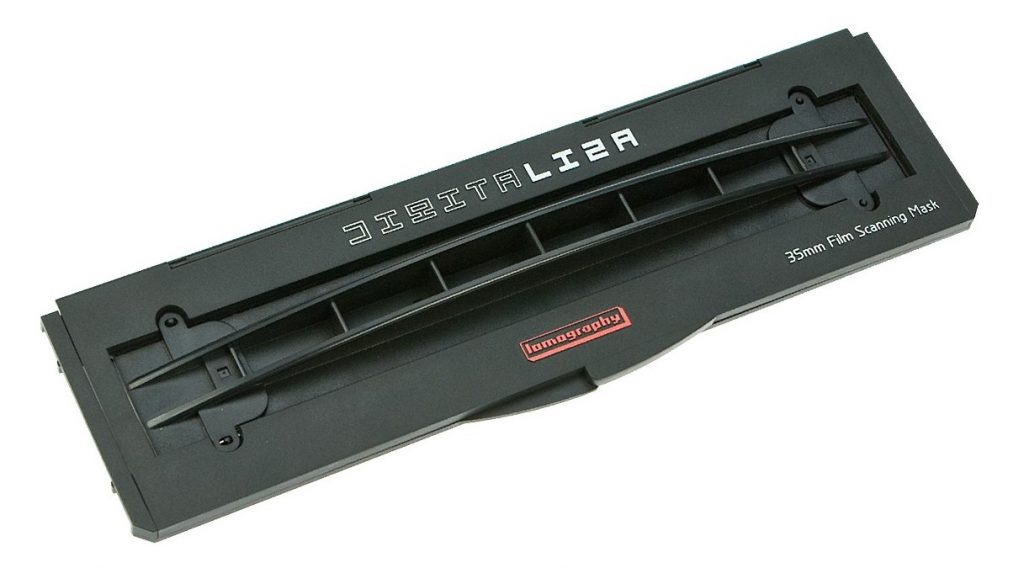
Firstly, the Lomography Digitalizer is a simple scanning mask which can clamp and hold a strip of up to six 35mm colour or B&W negatives. You could use it for any number of negatives between one and six of course but six is ideal. It consists of 3 parts, a metal baseplate, a plastic hinged frame which clamps the edge of the negative and a plastic central clamp which holds the film flat when you close the frame. Magnets are incorporated into the design to provide the clamping force between the various parts. Basic operation follows the procedure of placing the metal base plate in the bottom of the frame, placing the negative strip in the frame holder, placing the clamp on top of the negative, it has location guides for this, closing the frame and then removing the clamp. Because the magnetic attraction is now broken with the base plate, this falls away and you are now left with the negatives securely held in the frame ready to scan.
Loading the Lomography Digitalizer is a little fiddly especially if the film is curling. If the curl is along the negative strip then this is one problem but often the curl is along and across too so it’s really important to ensure the film is positioned correctly before clamping down the edges. This is where the central clamp does it’s work. However, because this locates on four tiny plastic prongs, it is possible to knock the film moving it slighly in the rebate when loading the central clamp. However, once the central clamp has secured the film flat against the metal baseplate, you simple close the frame and this secures the edges of the negative strip. You then remove the central clamp which drops away the metal baseplate – remember I said everything is secured using magnets. Now, while it is impossible using this technique to completely flatten the film in the holder, it does appear to do a reasonable job. Of course, the flatter your negatives, the flatter they sit in the frame. You are now ready to scan the negatives.
I should have mentioned that before doing any of the above, I recommend blowing off any dust that might be on the negatives. Cleaning both sides of the negative makes for a far better result when digitising.
In use, the Lomography Digitaliser is relatively simple to position but I do recommend either a jig or frame to ensure that you can quickly position each negative frame perfectly with respect to the camera lens. If you don’t do this, you will spend a lot of time fiddling around trying to position the frame in the right place. This is doubly relevent if you are using a 1:1 macro lens as the negative fills the frame so accuracy becomes far more important. There are other products out there that do a better job of negative positioning but they are more expensive, some very much more expensive. You pays your money and makes your choice as they say.
With regards the digitising process, if the negative is held flat, using something like a light box, mine is lit by a flash head, positioned under the frame with the camera set on say F5.6 or F8 at 1/125 or whatever your camera syncs at, ensures that you have a good DOF through the frame. This should result in a crisp, accurate digitised image. I am using a Tamron 90mm f2.8 1:1 Macro which is ideal for this task.