In Part 1 of this two part examination of Luminar Neo I looked at how Relight Ai handled a typical portrait taken under difficult lighting. This second part looks at how PortraitPro Studio 21 handles the exact same job. No attempt has been made to enhance the portrait in either software, firstly because the beta version of Luminar Neo I have access to has no significant portrait capabilities and secondly because I really only wanted to look at how easy it is in both software solutions to effect large global changes to the overall lighting of the portrait.
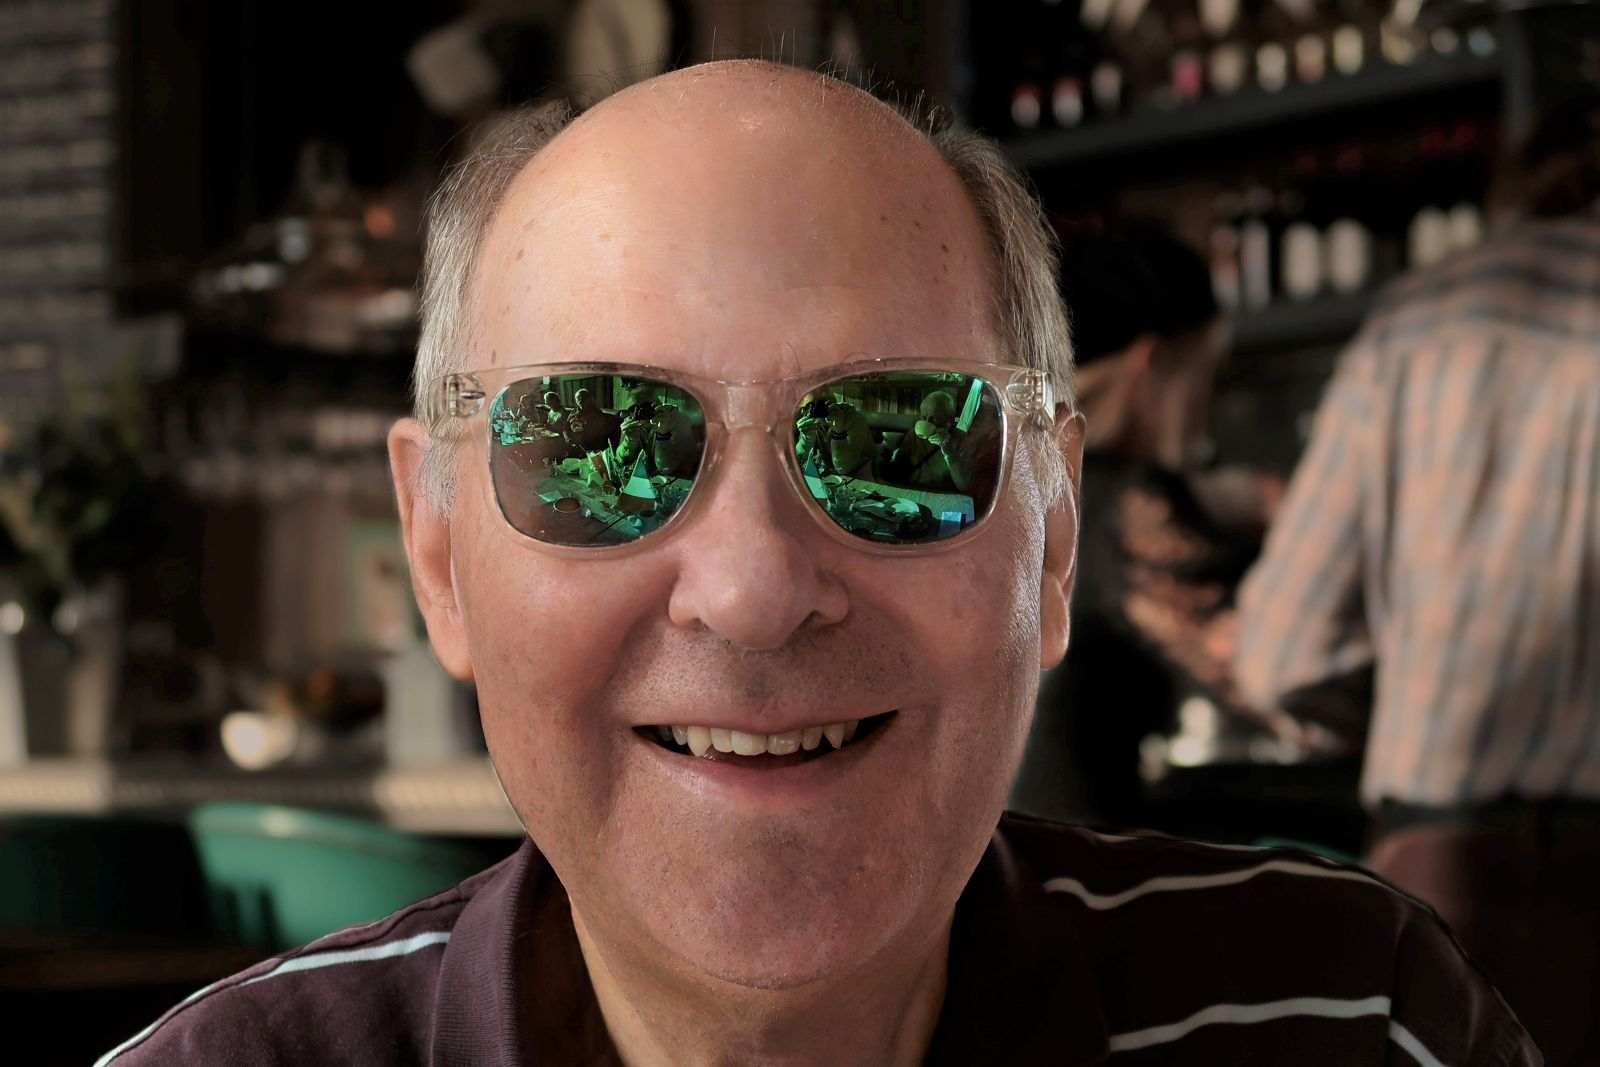
For this comparison I used exactly the same start point, the image of my friend Chris as shown in Part 1. Since I had chosen to use the jpeg version of this image in Luminar Neo I again I started with the jpeg in PortraitPro Studio 21. Nomally I would recommend starting with the RAW file when editing but the importance here of where we end up is less of interest than the journey itself so the jpeg works equally as well. Here is what the UI of PortraitPro Studio 21 looks like. It is somewhat different to that in Luminar Neo, somewhat busier and focused on the face but that is not surprising as PortraitPro Studio 21 is really designed o do a different job.
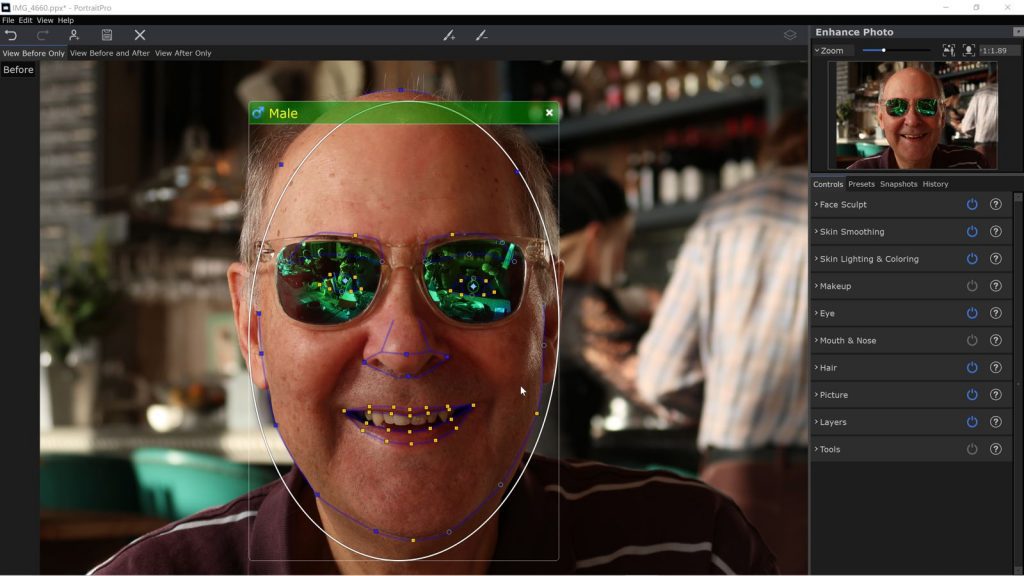
In Luminar Neo, see Part 1 for much more detail on exactly what was done, the relighting of the portrait is handled by Relight Ai. I also used two other tools to affect the Mood and the Colour. In PortraitPro Studio 21 I used just two tools these being Skin Lighting & Colouring which affects the relighting of the face and the Layers tool to modify the background. Being software designed specifically for portrait work PortraitPro Studio 21 has many additional tools that I could have used. However, this would not provide a fair comparison so I used only those stated above.
Looking at the background first, PortraitPro Studio 21 provides the ability to seperate the foreground image (the face) from the background. This process creates an editable mask which can be fine tuned to give better results. In general terms, seperating the background from the foreground is a one click process as here
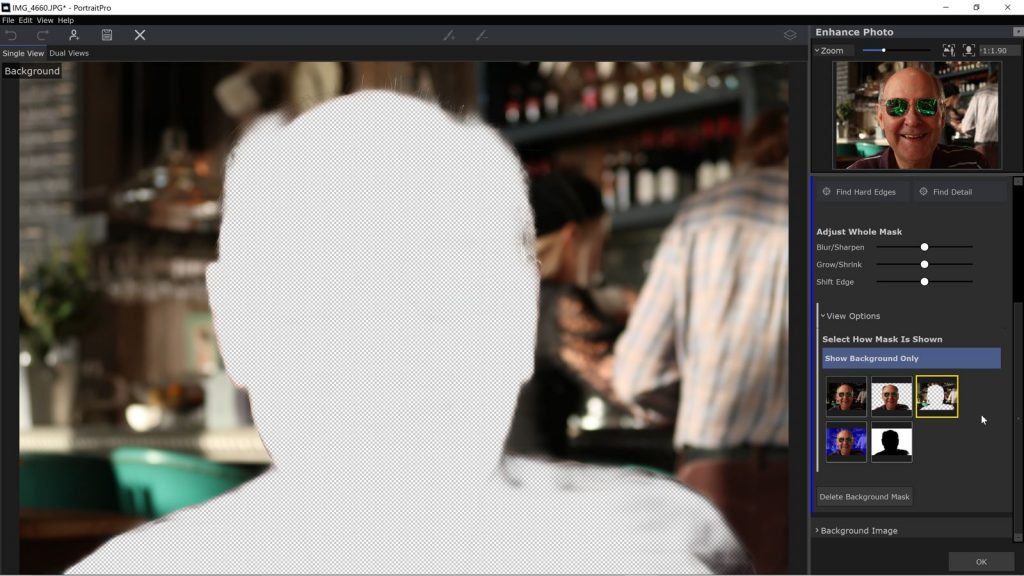
As can be seen, the background is now really well seperated from the foreground including the areas that Relight Ai had problems with. Once the background is isolated, it is a simple job to change whatever parameters you feel will provide the end result you are looking for, In this case I used just brightness and exposure but I could have used blur, contrast and even a tone curve to make the changes I wanted. The result of this work is shown below.
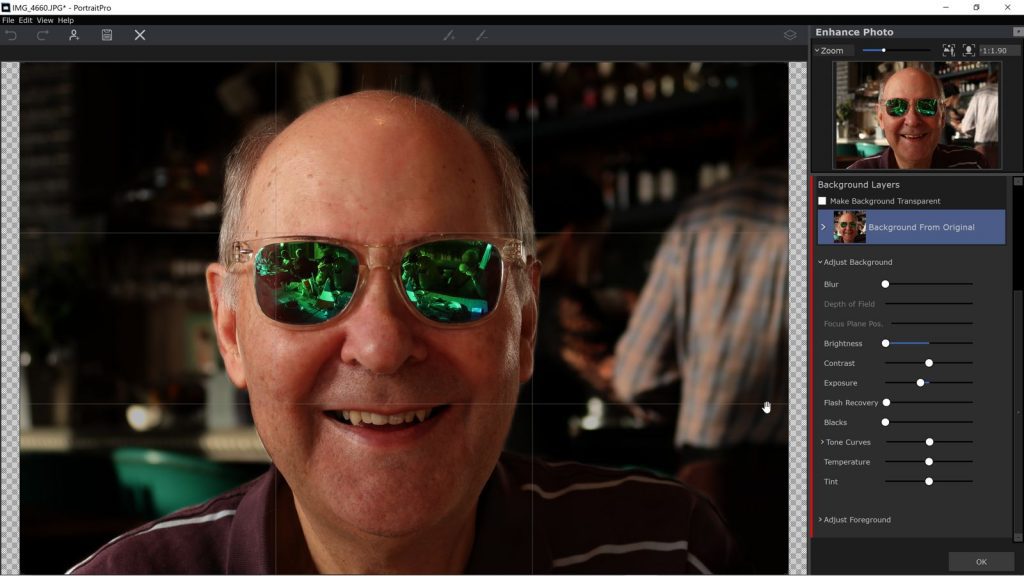
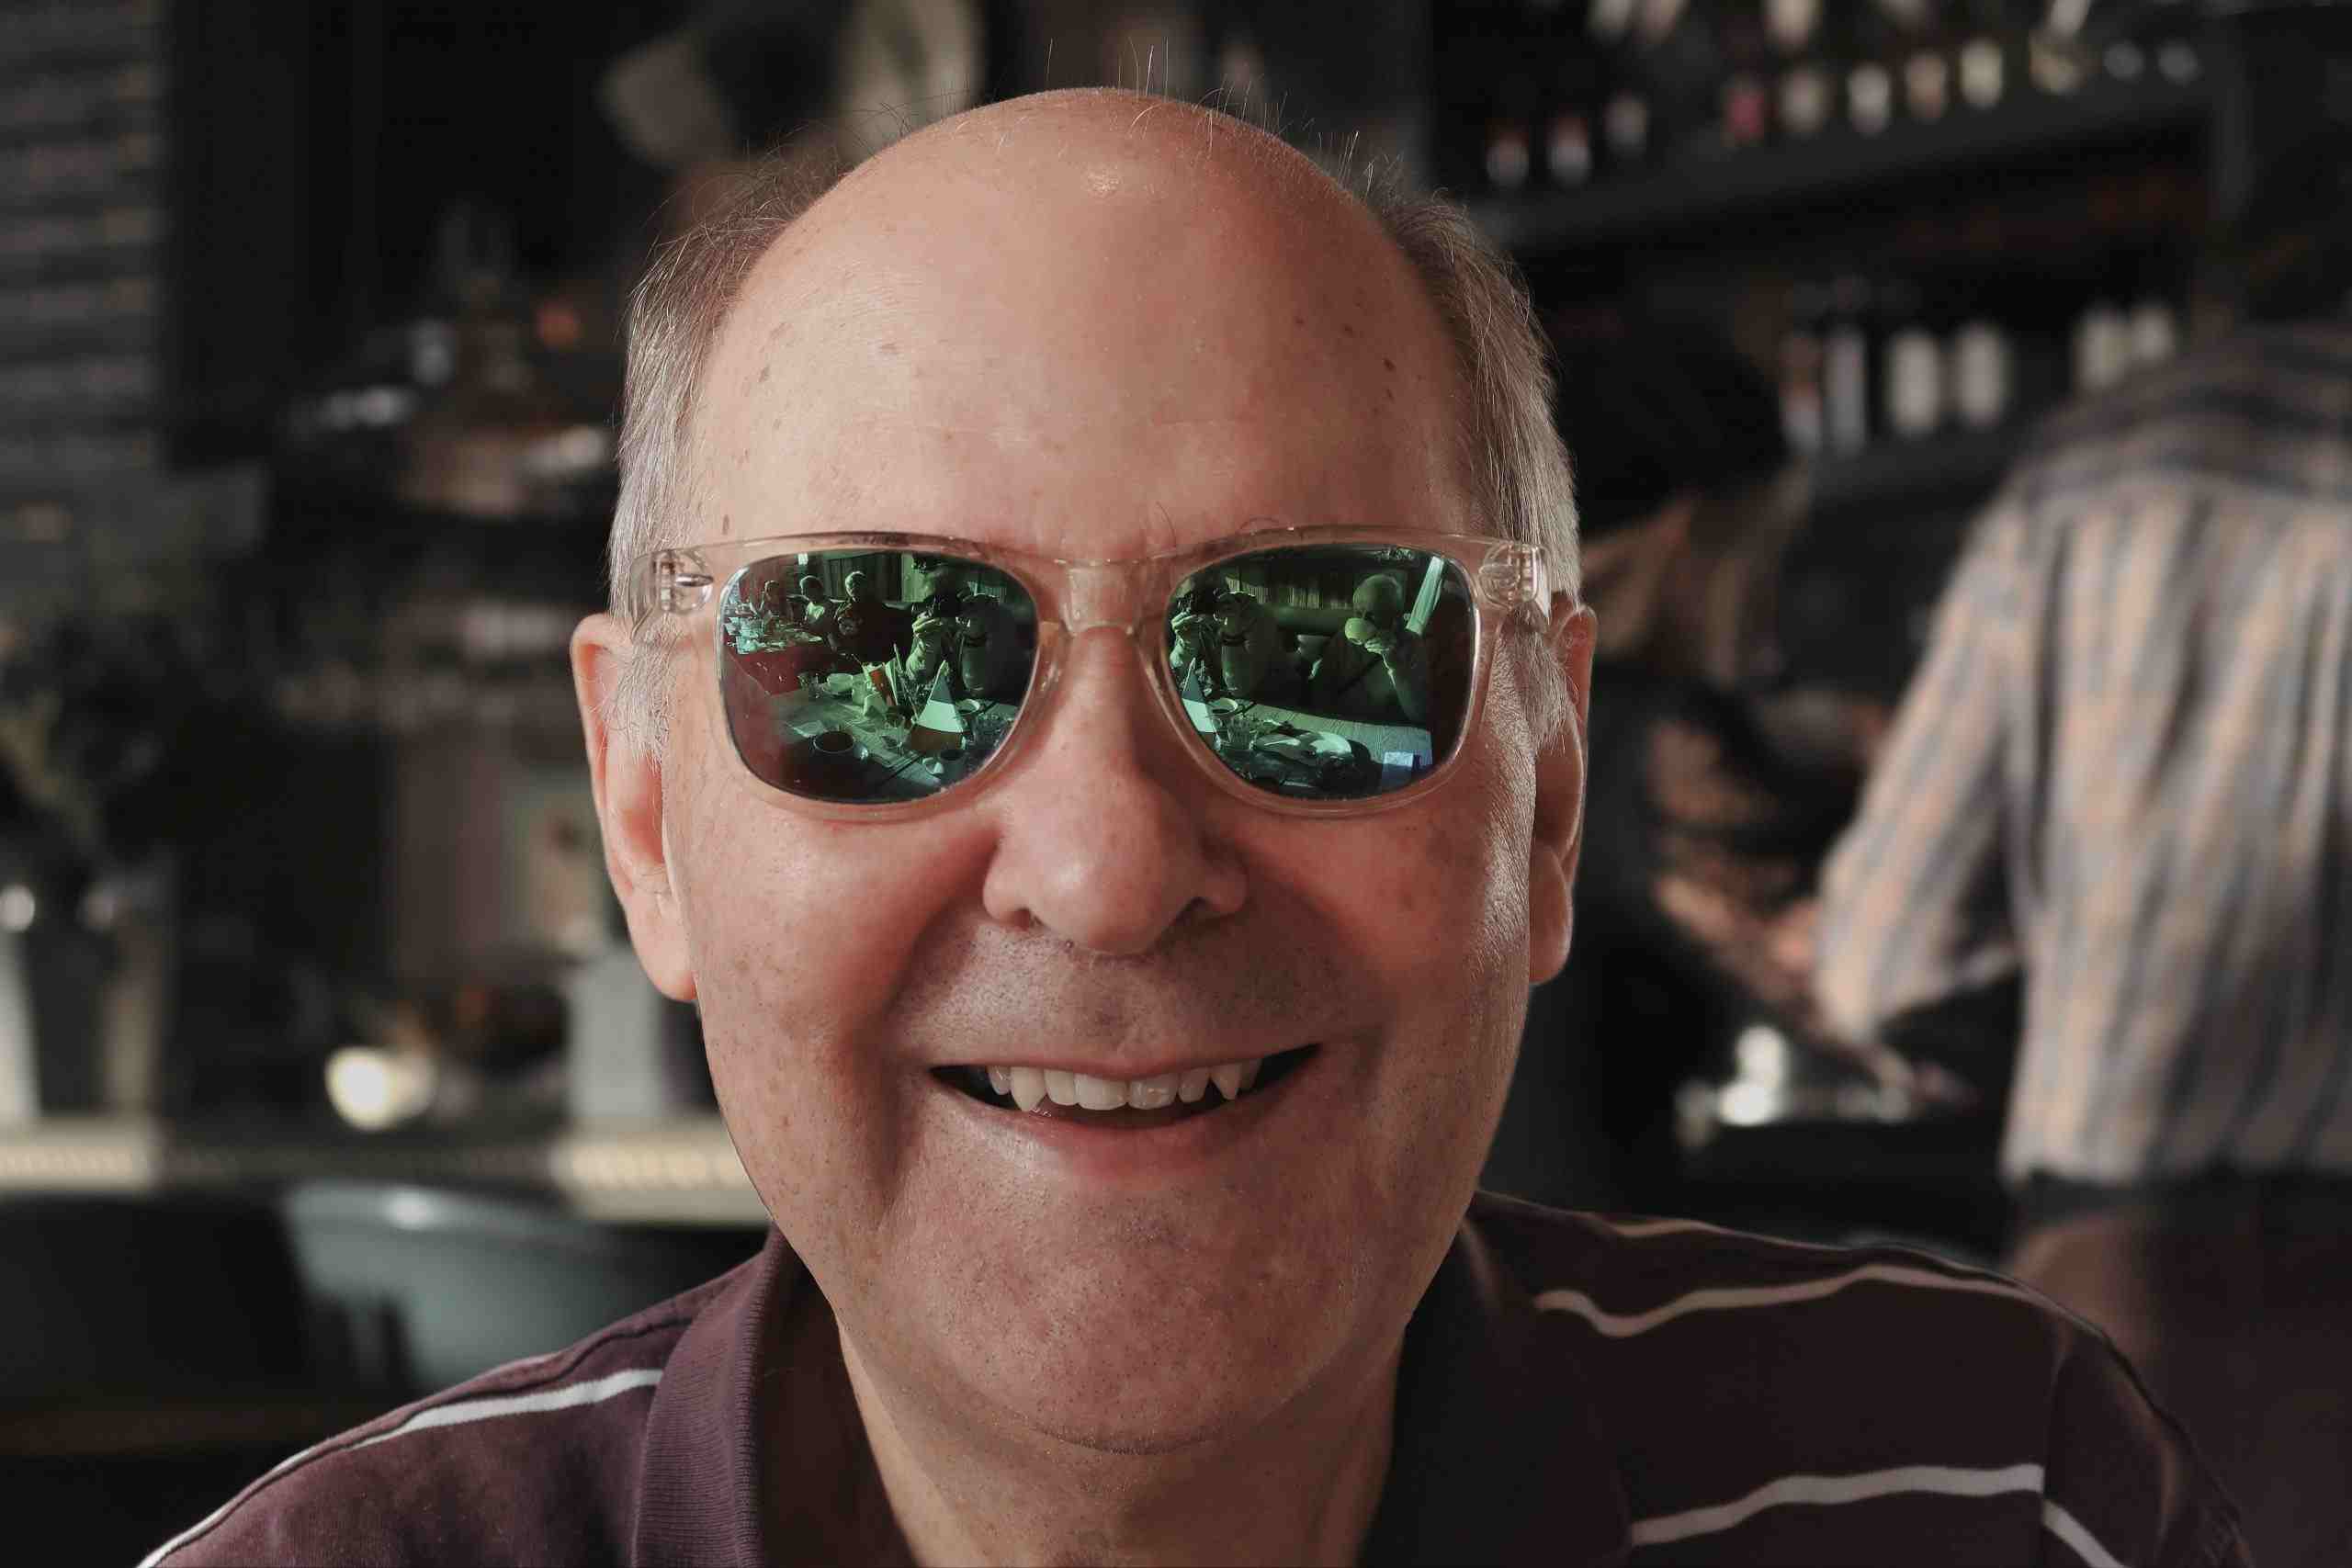
The final step required is to relight the face and this is done using the Skin Lighting & Colouring tool. As with all the tools in PortraitPro Studio 21 there are a lot of options but for this edit I only wanted to apply light to the right hand side of the face as we look at the photo so as to provide more even tone agross the face as whole. Here’s the final image associated with the edits discussed presented so that we can compare it to the results from Luminar Neo. Since the edits are done in different packages there is some difference in the overall colours and tones but the comparison is really to allow you to see what each application has achieved. There is no doubt that with additional work both could be improved greatly but as a tart point, they hopefully allow some useful comparison.
CONCLUSION
PortraitPro Studio 21 is probably one of the better portrait editing tools on the market today. However, it is not perfect and with the image used here, it suffered similar problems with dealing with the hairline of the subject. My feeling when using both applications is that Luminar Neo was much easier to use, gave good results and produced a noticably better image that what I started with. PortraitPro Studio 21 on the other hand, certainly with respect to portraiture, presented me with a huge number of options which, had I wanted to go down this route, would have allowed me to perfect the portrait way beyond what Luminar Neo, certainly at this point in time, could achieve.
Of course the $64,000 question must be “Is the PortraitPro Studio 21 image noticably better than that created by Luminar Neo Relight Ai?” I think that despite my respect for PortraitPro Studio the answer for me is just a “maybe” when considering like for like as in this case. I know that’s a cop-out but there are reasons. Luminar Neo was really easy to use, created a good start point for further work and ultimately delivered what I wanted quickly and with relative ease. While Relight Ai never managed to balance the light as effectively as PortraitPro Studio 21, there is a marked shine on the forehead because of the strong light coming from the left as we look at the image, it did a pretty good job overall. Had I spent a lot more time on this project I feel sure I could have perfected it. Besides, Relight Ai also works on landscapes and on objects so it is more of a generalised tool than PortraitPro Studio 21 which leans unashamadely towards portraiture. On the other hand, PortraitPro Studio 21 definately handles relighting of the image far better although that shouldn’t be surprising given the range of tools available for portrait manipulation. The image from Portrait Pro Studio 21 is therefore much flatter and a marked improvement on the original. Of course, had I used more of the tools at my disposal in PortraitPro Studio 21 I am pretty sure there would have been even more improvement over the original. However, that was not the purpose here as what I wanted to do was to show that both applications are capable of producing excellent results in portraiture which can be improved by additional work.
Luminar Neo at this point in time, albeit crippled by Skylum who have removed lots of the key functionality is without doubt capable of doing really good work even as provided ie beta. It’s intuitive, capable and feels a lot more like the versions I loved in the early days ie Luminar 2018 and Luminar 3. Where it ultimately ends up is down to Skylum but they appear to be on the right track.
SUMMARY
Luminar Neo Relight Ai (Beta Version)
- Very easy to use
- Lots of control over the final image
- Lacks portrait focused tools at the moment
- Relight Ai only provides basic relighting capabilities
- Some mask work is likely to be required
- Great results for minimal effort and cost
PortraitPro Studio 21
- Comprehensive and therefore confusing UI
- So many tools I don’t know where to start
- Can be used to do as little or as much as you want
- Extensive tools for working on the backround
- Extensive tools for working on the foreground image
- Very powerful relighting capabilities
- Amazing results but it is (relatively) expensive and it does require more effort and experience to get the best from it