Digitising Film The final solution – almost!
Over the past week or two I’ve been experimenting with ways of capturing digital images directly from film negatives. I’ve been trying to do this as cheaply as possible by using as much of the gear as I have to hand to keep costs down. I’ve already created a couple of posts on this topic and you’ll find these in the March archives if you want to understand more about this journey.
So as not to duplicate what I’ve already written, I’ll just tell you that the most successful method I’ve found to date is to use a digital camera and a scanning mask.
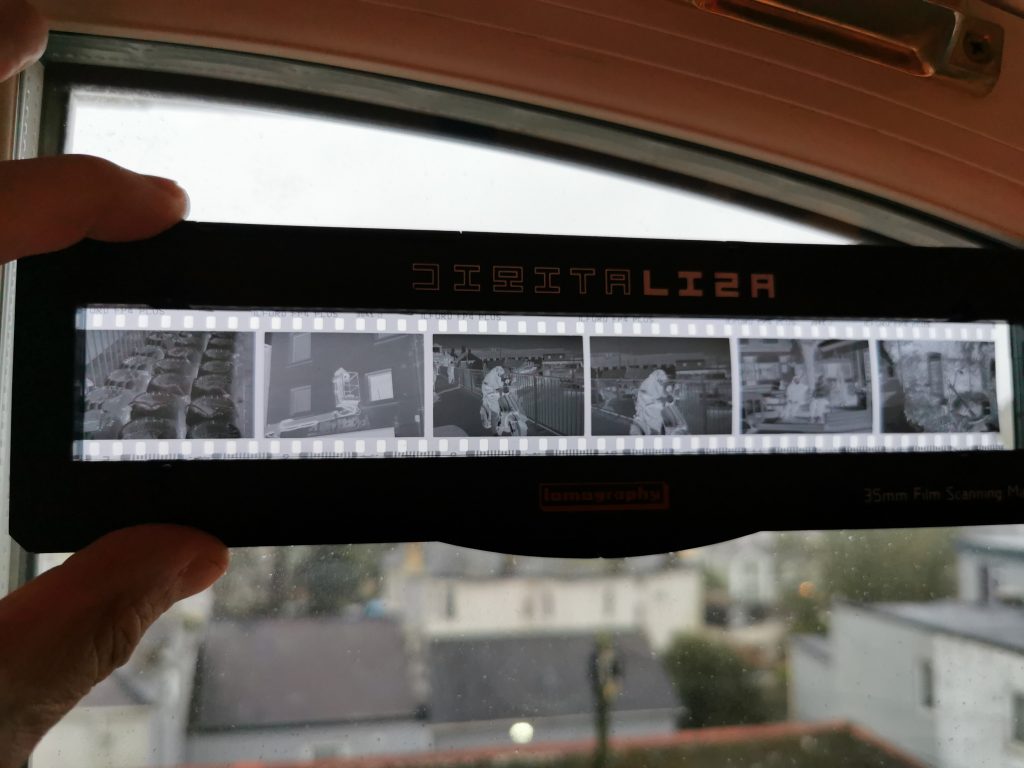
Now in fairness, you can pretty much stop there as this method really does work and the total cost, given that I already have the camera and lens, was just £32 for the scanning mask (including delivery). This ultra cheap method simply requires a decent lens, close focusing or macro if you have one, the scanning mask, this holds the film flat, and a window for the light source, ideally north facing as you need flat light for this job.
This remarkably simple setup captures negatives quickly and accurately although you will need to do some basic post-processing on the captured images e.g. inversion, cropping, basic adjustments to exposure, whites and blacks etc.
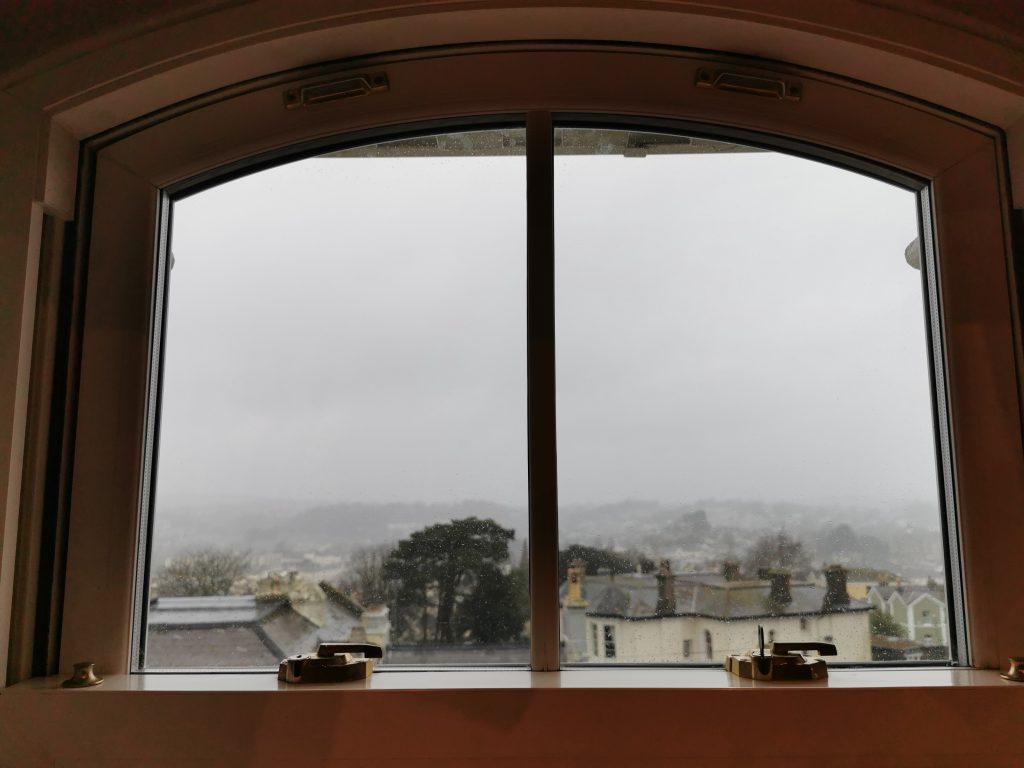
The process is simplicity itself, just set the camera on auto focus, although manual works equally well, choose a shutter speed of at least 1/60s and set ISO to 200 or lower. That’s it really. Hit the shutter and you have your digital image in camera. With regards the light, a flat grey day is ideal for this job and you need to make sure that there’s no trees or buildings in the frame else they’ll show on the digital image. A perfect day for this job is a rainy, grey day where there’s no direct sun. North facing windows are perfect but this window is west facing and works equally well.
Another approach that works well is to use your camera and lens with a light box, flash head, trigger and tripod. I made a simple light box from an A4 cardboard documents box with a lid. I cut a rectangular hole in the side, into which I pushed the flash head, a rectangular hole in the center of the top slightly bigger than a 35mm negative i.e. 45mm x 34mm works well.
With the flash head pushed inside the box, I had already lined this with some silver foil to bounce the light around, I placed a piece of white paper under the flash head curving up the opposite side,somewhat like an infinity wall as found in a studio. I then popped a diffuser on the flash head. With that all done I set the flash power to 1/64 and, as the flash head is adjustable, I set the ISO to 100 and zoom to 14mm to help spread the light. On test, this setup was perfect for backlighting the negative.
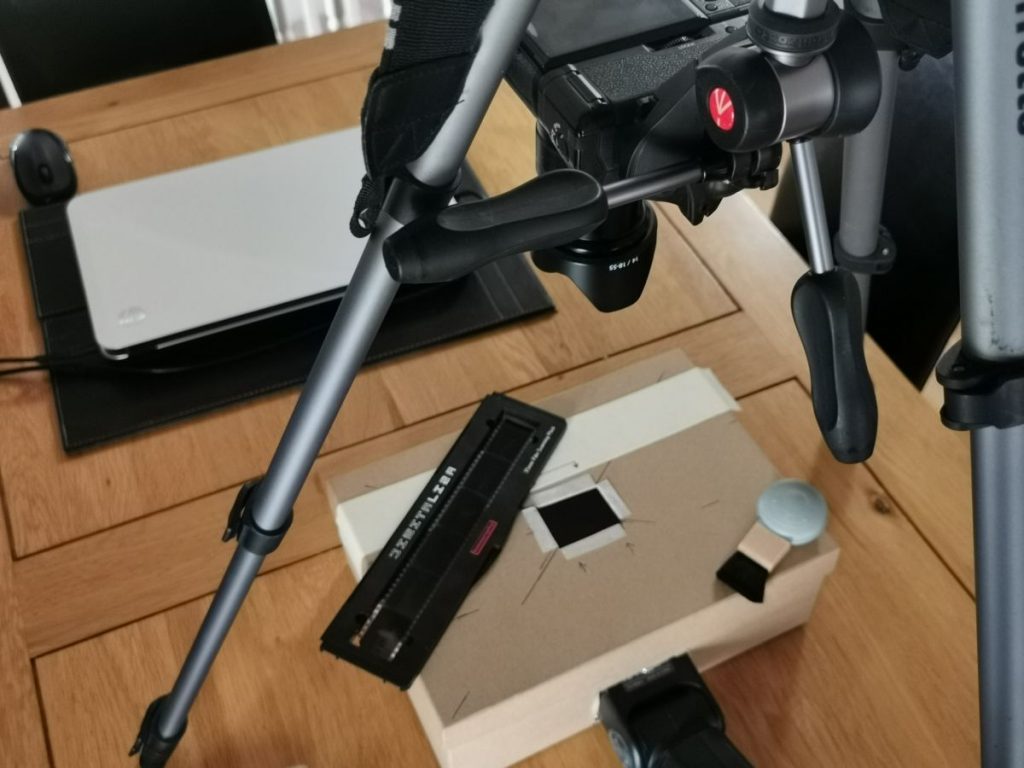
Moving on to the camera, I found that autofocus was problematic so I set the camera to manual focus. The next problem is that without any useful light on the negative surface, focusing was hit and miss despite focus peaking being available. An easy fix is to have a suitable light available to iilluminate the film surface but as I didn’t have one handy, I simply changed the shutter speed from 1/125s (set for the flash) to something really slow like 2s (this is good at night) or Auto if during the day. This lights up the scene allowing accurate focus to be set (using focus peaking) right on the plane of the film.
You should also ensure that the mask is dead centre of your lens.
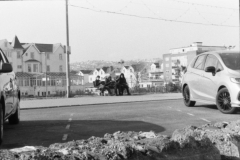
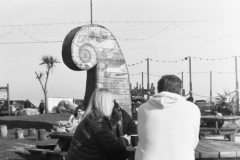
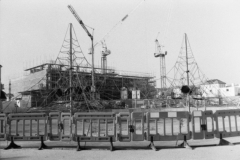
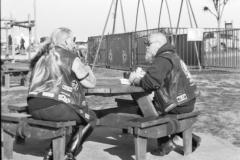
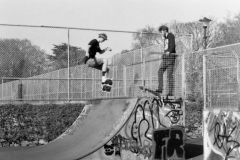
Once set, I simply changed the shutter speed back to 1/125s and activated the shutter. The satisfying flash tells you the job’s done. Slide to the next frame and repeat. Here are some examples of images captured using this setup but please bear in mind that the resolution of these images is very poor because of the lens I was using. The best physical size I could create with this technique was 1080 x 760 and of course, dispaying on the web doesn’t help with quality as these are only 72dpi. However if you read on you’ll see I have some good ideas as to how to hugely improve focus, resolution and size and therefore capture the (almost) perfect digitised image.
Low resolution images. Enhancements to my setup will enable me to capture 6000 x 4000 images.
Before discussing “where to next” I just want to say something about converting the digitised images into positive images.
I know many out there will be using Photoshop, Capture One or another pricey editor but I have been using On1 PhotoRaw a lot recently. Firstly, It’s a very capable editor and the more I use it the more I like it. It also operates now as a plugin to AffinityPhoto, my other favourite “heavy lifting” photo editor. In fact the two combined are a killer combination matching I would say, Photoshop and Lightroom, albeit Photoshop does have more add-ins and macros.
That being said, why on earth would I want to shell out indefinately on a subscription when I bought a perpetual licence of AffinityPhoto and On1 2021 for just £70.
On1 also has some really good features, not least image management, presets (and the ability to easily create your own presets) and of course it’s a 1st class editor. If there’s something I can’t do in On1, I simply pop over to Affinity calling On1 as a plugin if I need to in order to finess the final result. For the above images, given that this is purely a test, I created and saved a preset which inverts the negative, crops and levels it, applies a tone curve and then balances the whites, blacks, shadows and highlights. In a second I have my positive image practically finished and all I then need to do to finess it is to push up or pull down exposure or add some contrast and fine tweak the sliders. Getting to the finished image from the film strip takes a few minutes at most.
Having atained some success then with my “Heath Robinson” method of negative film digitising, my next project is to improve on this setup by engineering a more rugged, reliable and accurate light box.
Now, I had considered buying a Skier Light box and 35mm mask, about £160 including shipping from Taiwan, but I’m finding that the flash method I am using is working OK albeit that I need to better control negative position and focus. For example, I need to be able to position the scanning mask much more accurately over the cutout so that every image is the same and is always in perfect focus.
I also need to be able to capture a bigger image. At the moment I’m using the Fuji x-t1 with an 18-55 f2.8-4. This is capturing an image considerably smaller than what I ideally need due to the fact that this lens is not close focusing or a macro lens. With these points in mind I have purchased the Nikon 105mm f2.8 AF-S D which I intend to use with my Nikon D600 full frame camera. This will give me a full size 1:1 image reducing the need to edit every frame, especially if I engineer the positioning of the negative accurately. The 1:1 ratio will also produce a digital image with maximum detail and resolution. It’s not a cheap solution, £195 on Ebay, but it the best solution for my needs.
To improve the light box, I’ve just purchased a wooden box from Amazon, this cost £14, to which I will fix an indexed runner that the Lomography Digitaliser will move against. This will ensure much more accurate positioning of the scanning mask and negative over the cutout in the box lid. While I recognise that the scanning mask is a weak link, and indeed, I have found a much better solution which costs £90, I’m going to stick with my solution for a while to try it out. If I need to upgrade, I know where to go.
That’s about it for now folks. Take care.
Since writing this I bought one of those tiny LED reading lights, the type that click on to your book for night time reading. Pushed into the box, this illuminates the negative perfectly allowing accurate manual focusing right on the negative surface. I typically use the numbers and wording on the negative surface to accurately focus as these are prominent. Using thus technique the sharpness of my digital images has greatly improved.