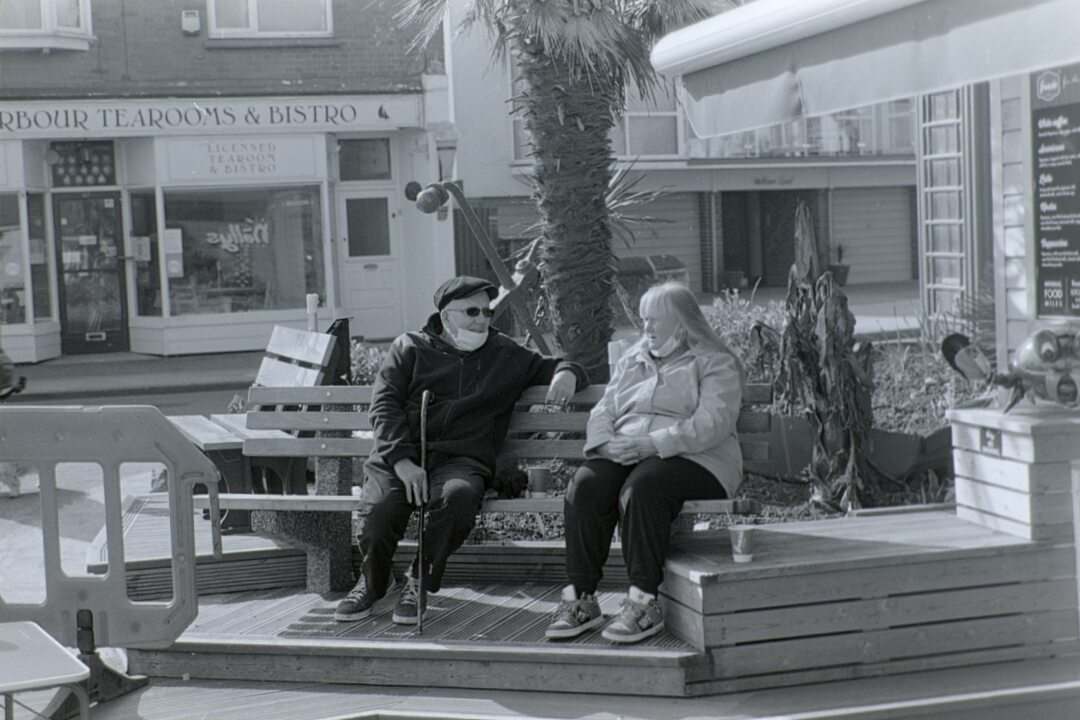
Digitising Film | Natural window backlight vs Huawei P20 Pro Backlight
As I get more and more into using film again, I am learning something new every day.
Today, I was trying to digitise some Ilford FP4 film negatives that I had taken yesterday and I was using my Lomography Digitalize 35mm Scanning Mask to hold the film strip over a white screen app on my Huawei P20 Pro. Now, the white light from the Huawei app looks very clean although of course, I knew that there are going to be some issues with colour as it’s unlikely that it’s a high CRI index and besides, I could see some magenta in the digitised images. What I didn’t expect was to be able to capture the actual screen structure, this looks like a patchwork of brush strokes, which was bleeding through the film negative and being captured by my camera.
The easiest way to explain this is to show you a zoomed in area of the image, this is 500% zoomed, so that this all makes more sense.

As you can see, the cross hatching obliterates any detail in the image plus it destroys the grain.
Now, I hadn’t noticed this previously on other images albeit I was seeing some significant degredation in the image which I put down to camera focusing issues when I took the image. Perhaps not! Now that I realise that it is the Huawei that is injecting these artifacts into the image I can start thinking about ways to overcome this.
Backlight your negatives with natural light
The easiest and cheapest way to create a backlight, although not necessarily the most efficient way, is to use natural light through a window. Now, to get ths perfectly right we are going to need a very flat grey backlight or at the very least, non direct sunlight. That’s not always easy of course, although with the dull weather we have been having here in the UK recently, it’s probably a little easier for us. So, having had a few goes, this next shot, again zoomed in at 500%, is using natural window light to backlight the negatives. The difference is quite stark, far less interference with the base image so more detail.

The problem with this is that it’s difficult to hold the negatives, even if they are in a holder, and take a good photo. The image below emphasises this problem. The cross hatching has gone but the negative is poorly focused. Combine this with focusing issues when the image was taken and you’re never going to be happy with the end result!
An “Almost There” Solution using your Digital Camera gear
In the absense of an engineered solution – more on this approach will come in later articles – I have adopted a simple approach of using an and adjustable LED lamp which illuminates white paper inside a box. A link to this article is provided below for you to take a look at this approach. Bare in mind, all of these articles are looking at solutions which cost practically nothing so they might not be the best options readily available.
Here’s the result of applying this type of approach.The improvement in focus on the subjects comes from using a Nikon D600 with Tamron 90mm f2.8 1:1 Macro lens. Any errors in focusing now lie with the camera / lens combination used to capture the image and not the processing itself.

Other Posts you might like
If you enjoyed this article “Digitising Film | Natural window backlight vs Huawei P20 Pro Backlight” then there are a number of posts on this website talking about film processing and editing so have a wander around if this interests you. Here’s a few you might like:
- 5 Good Reasons Why You Shouldn’t Shoot Film
- Cheap Photography on a Budget
- Digitising Film | The final solution – almost!
- Part 1: Digitising film with an office scanner
- Part 2: Digitising film with a camera setup!
- 35mm Film Resurgence?
